
My New Year’s resolution for the past 3+ years has been to organize and scan my old family photographs. I think 2016 is the year I will finally complete this feat!
I started my project this week and I know a lot of others would like to do the same, so I figured I’d give my two cents on the matter.
Here are my steps to organizing & scanning your old family photographs…
- Work Space- First and foremost, find a destination in your home where you’ll be able to work on this project and leave things in disarray for several days or maybe a week. I chose my home office with a large table for my work space that way I could sort through everything easily.
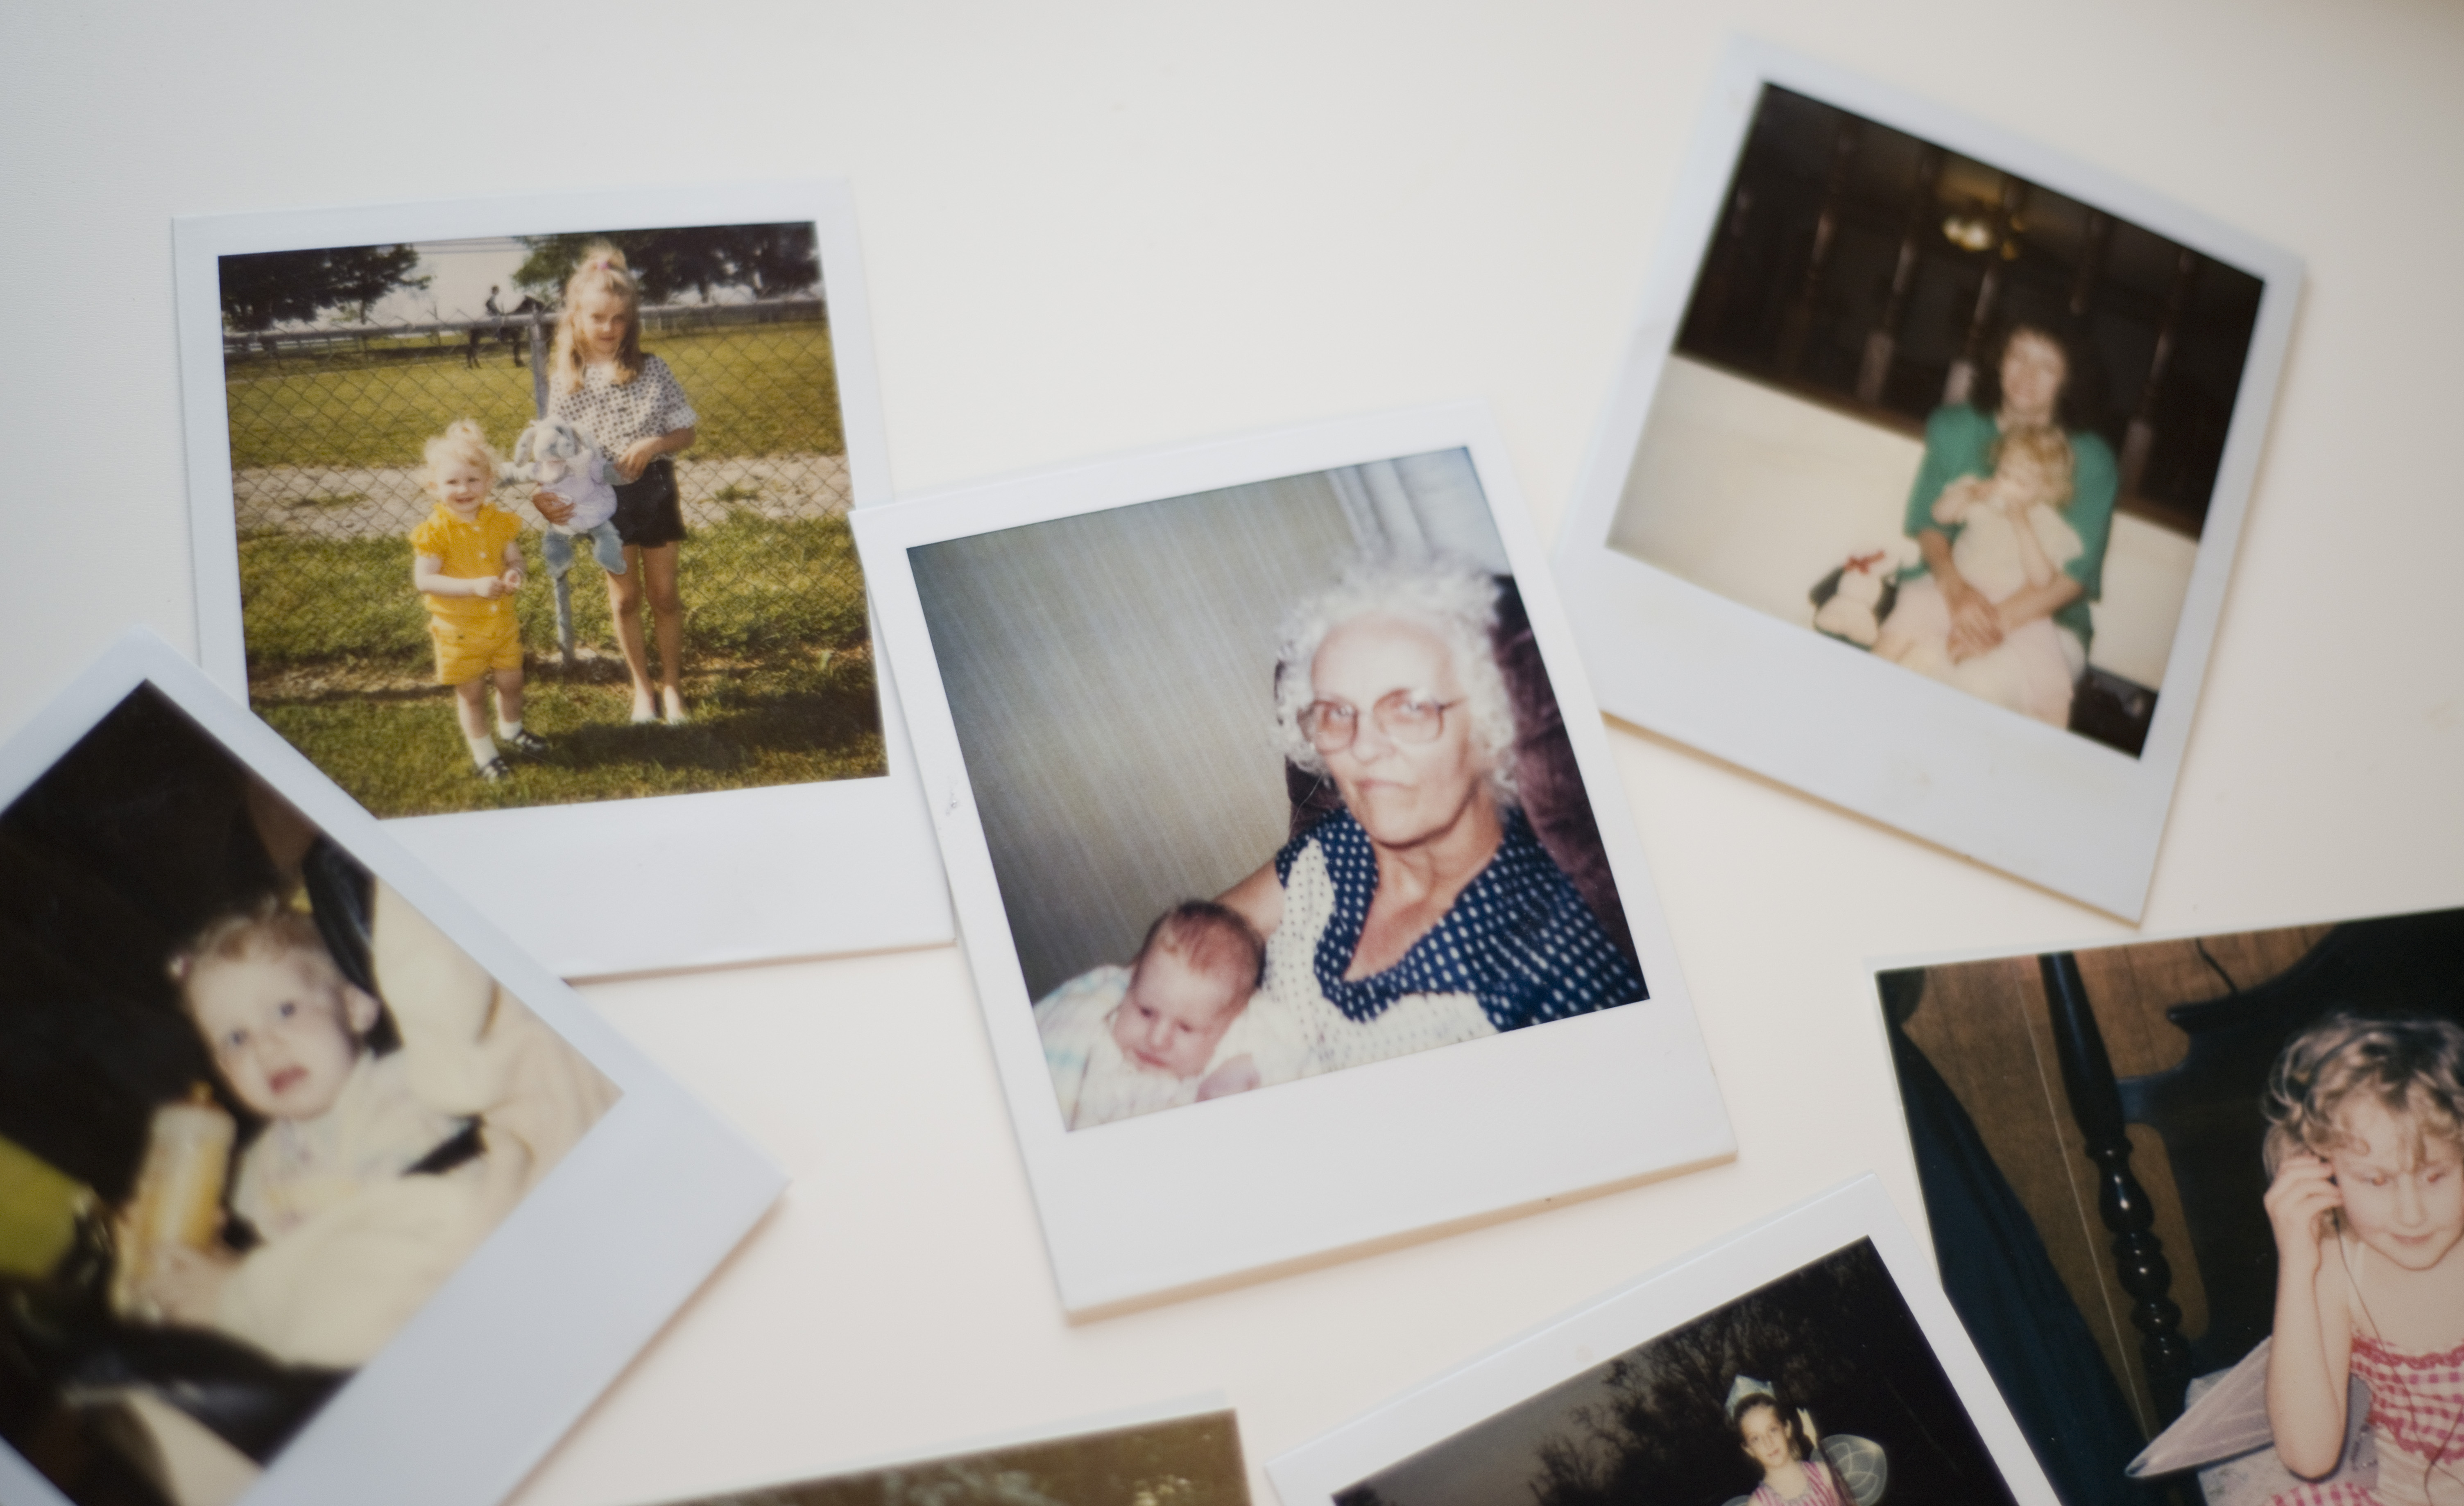
- Gather- Gather up all your photos. You may have photos scattered all around the house in different tubs and albums like me, so gather them all up and put them in your work space.
- Prepared Yourself- Before you get to digging in take some allergy meds if you suffer from dust and mold allergies.
Also, this can be an emotional undertaking for some. I was surprised that I got a little emotional the first day I started sorting. A lot of the people in my photographs are no longer with us, or some of the relationships with the people in the photographs have changed over the years. That being said, please don’t throw images away of family and friends that you may regret later. Even if you don’t want some of the old photos, maybe your children or other family members would. I’ve also heard of people cutting themselves or others out of images. Please don’t! If there are images you don’t want anymore, think long and hard before throwing them away, or better yet give them to someone else who will cherish them. - Categorize- Okay, now you’re ready! You’ll now want to figure out certain categories in which to organize your photographs. I bought file folders that I titled for each category and went through all the photos and put them into the folders. You may find it is easiest to organize them by each siblings, immediate family, extended family, holidays, etc. I don’t recommend sorting by years or dates, because you may not know the year on every image. And it takes way more time to sort chronologically.
Also, be sure to keep the cards and newspaper clippings separate from the photos. The dyes can damage the pictures over time. - Scanning- I use my Epson Artisan 725 scanner/printer/copier combo to scan my photographs. Make sure to keep a microfiber cloth near by to periodically wipe down the scanner screen and images to remove dust particles. Also, take into account if certain photographs are copyrighted. If so, then it is illegal to scan them.When scanning you’ll have several options…
- Resolution: The most important option to pay attention to is the resolution setting you are scanning each image. As a general rule you do not want to scan an image at less than 300 dpi (or Dots Per Inch). I use 300 dpi generally for prints 5×7 or larger. 600 dpi for 3×5 or 4x6in prints, 800 dpi for wallet sizes, and then for tiny images I will go up to 1600-3200 dpi. Be prepared to wait a while on those higher 1600-3200 dpi settings. It will take a long time to scan.
- Color Correction Options: I don’t normally choose any of the color correction, dust removal or sharpening options. I like to scan as is then edit in Photoshop. You can get some crazy colors from the auto color correct options and loose quality with the dust removal options.
- Folder: You’ll need to pick a folder where your images will be saved once scanned. I have the main folder on my desktop, so that it’s easily found, called “scanned photos”. Then create additional folders inside the main “scanned photos” folder named for each of your categories.
- File Name: You’ll want to give each scanned photograph a file name. I name my first image 1001 then the second image will be 1002, and so on, for the first category. Then I’ll start the second category with 2001, 2002, etc.
I number in the thousands because some software programs will organize all images starting with the number “1” together. For example, file names “1, 11, 111, 1111, etc.” will be sorted in that order. Also, save images as jpg files.
6. Storing Photos- I’m not finished with scanning all my photographs yet, but once I’m done I’m going to purchase acid free archival photo boxes for their new long-term home. I will also add a disc of the scanned images to each of the boxes and then keep the scanned images on an external hard drive too. I ALWAYS suggest keeping all your images in at least two places.
You can also create photo books once you have all your images preserved. This is a great way for you to easily view and enjoy them. I suggest Pinhole Press Panoramic books.
I hope this helps and motivates you to preserve your memories!


One response to “Organizing & Scanning Family Photographs”
[…] If you’re interested in organizing and storing your printed photographs check out my other blog post, Organizing & Scanning Family Photographs. […]